We use cookies to make your experience better. To comply with the new e-Privacy directive, we need to ask for your consent to set the cookies. Learn more.
How to Integrate a Kinco HMI Into Your System: A Step-By-Step Guide
How to Integrate a Kinco HMI Into Your System: A Step-By-Step Guide
May 2025 Nicole Jones
Human-Machine Interfaces (HMIs) serve as the vital link between operators and machines, enabling intuitive control, monitoring, and data acquisition. As your trusted supplier of automation solutions, Anaheim Automation offers a range of Kinco HMIs that combine robust performance with user-friendly programming. This article walks you through the step-by-step process to successfully integrate a Kinco HMI into your automated system.
Step 1: Choose the Right HMI for Your Application
Start by selecting an HMI model that meets the demands of your system. Key considerations include:
- Screen Size and Resolution: Display sizes ranging from 4.3" to 15"
- Communication Protocols: Ensure compatibility with your PLC, VFD, motor, and other components (e.g., Modbus RTU/TCP, Ethernet/IP)
- Environmental Ratings: Models like the KNC-HMI-G100E-LRF are IP65-rated for harsh environments
- I/O and Connectivity: Ethernet ports, serial ports (RS232/RS485), and USB ports
▶ Tip: Anaheim Automation's team can assist in matching one of our HMIs to your control system.
Step 2: Install Kinco DTools Software
Kinco HMIs are programmed using Kinco DTools, an intuitive software platform.
- Download the latest version from our website.
- Install the software on your engineering workstation (Windows-based PCs are recommended)/
▶ Tip: Ensure your PC has administrative privileges to avoid installation errors.
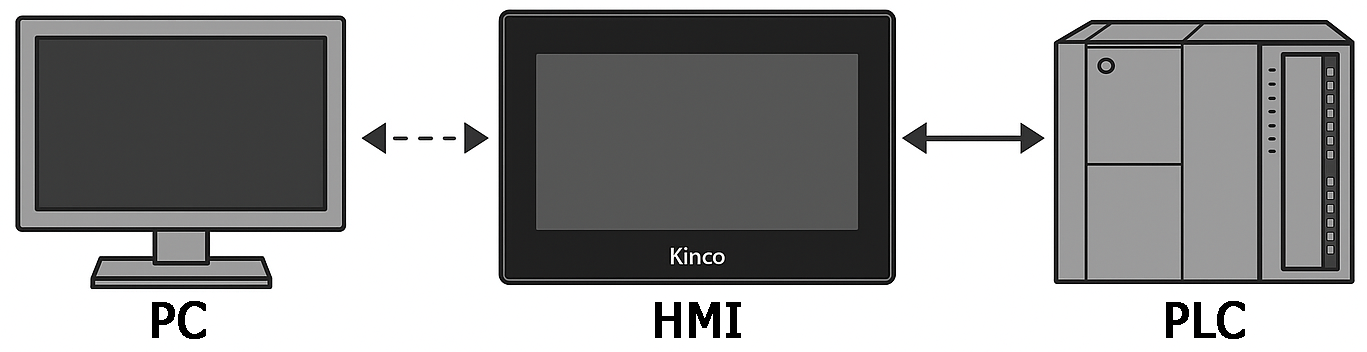
Step 3: Connect the HMI to Your PC
Use the appropriate connection method:
- USB Cable: For initial programming
- Ethernet Cable: For fast download and remote access
Depending on the HMI model, you may also need:
- Micro-USB to USB-A (for smaller HMIs)
- Standard Ethernet patch cable (Cat5e or better)
▶ Tip: Always power the HMI via its external power supply (typically 24VDC) during programming.
Step 4: Create Your Project in Kinco DTools
Launch Kinco DTools and follow these steps:
- Start a New Project: Select your HMI model from the project creation wizard.
- Set Communication Parameters:
- Choose the communication driver for your PLC or controller (e.g., Kinco, Modbus TCP Client, Allen Bradley, Mitsubishi, etc.)
- Configure the COM port settings (baud rate data bits, parity) to match the connected device.
- Design the Interface:
- Drag and drop graphical elements such as buttons, indicators, and trend graphs.
- Bind screen elements to specific PLC registers (e.g., memory addresses, input/output coils).
- Set Alarms and Logging (Optional):
- Configure alarm elements and data logging features if your application requires traceability.
▶ Tip: Use built-in templates for faster setup and consistent UI design.
Step 5: Communication
Before deploying to production:
- Use the Simulation Mode in DTools to verify basic functionality.
- Connect the HMI to your automation network (or directly to your PLC).
- Test each screen to ensure proper data exchange (read/write) between the HMI and the controller.
▶ Tip: If communication fails, double-check the IP addresses, COM port settings, and device IDs.
Step 6: Download and Deploy
Once tested:
- Download the project to the HMI via USB or Ethernet.
- Power cycle the HMI if necessary to initialize the application.
- Monitor startup logs on the HMI to ensure successful boot and communication.
▶ Tip: Keep a backup of your DTools project files for future edits.
Step 7: Final System Integration
Integrate the HMI into your system enclosure or control panel:
- Mount the HMI securely using the supplied gasket and clamps.
- Wire communication and power cables neatly to avoid EMI (electromagnetic interference).
- Label all connections for easy maintenance.
If desired, set up advanced features such as:
- Remote Access: Allow maintenance personnel to view and troubleshoot remotely.
- Data Logging and Cloud Reporting: Save data to USB, SD card, or send to an IoT platform.
▶ Tip: For outdoor or washdown environments, ensure gasket seals and enclosures meet IP ratings.
Integrating a Kinco HMI from Anaheim Automation into your automated system streamlines and enhances operator control and system visibility. By following these steps - from selection to final deployment - you can ensure reliable and professional setup.
Need more tips and tutorials for your HMI? Check out our HMI Playlist: